In the vast world of digital storage, memory cards are tiny titans, holding our precious photos, crucial documents, and entire gaming libraries. But what about the “Memory Card Switch”? This seemingly simple phrase actually opens up two fascinating and critical discussions: the humble yet powerful write-protect switch found on many SD cards, and the essential role of memory cards in devices like the Nintendo Switch. As an expert at Srkaj.com, I’m here to demystify both, ensuring you get the most out of your portable storage.
The Silent Guardian: Understanding the Memory Card Write-Protect Switch
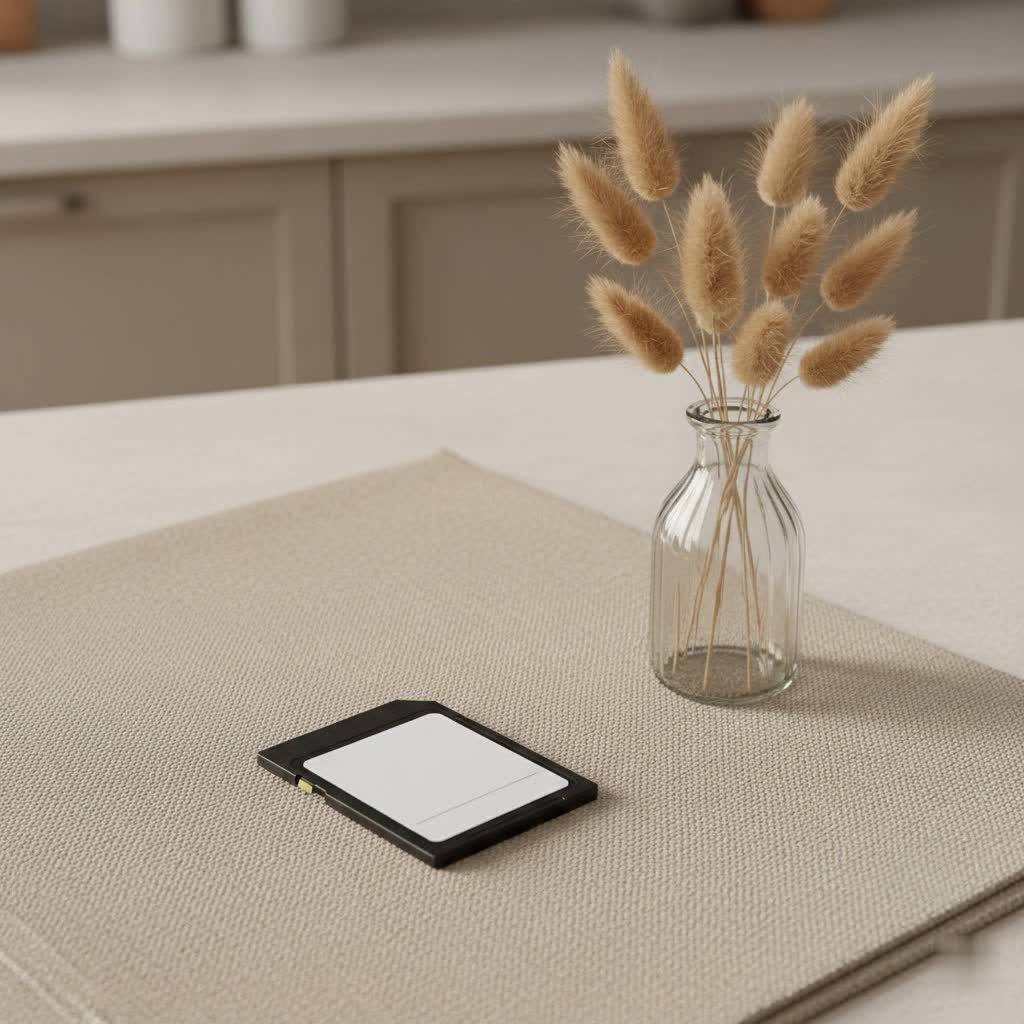
Have you ever noticed a tiny, often grey or silver, sliding tab on the side of your standard SD card? That’s your memory card’s write-protect switch, a small but mighty guardian designed to keep your data safe.
What is the Write-Protect Switch?
|
Our Picks for the Best Memory Card in 2026
As an Amazon Associate I earn from qualifying purchases.
|
||
| Num | Product | Action |
|---|---|---|
| 1 | SanDisk 512GB Ultra microSDXC UHS-I Memory Card with Adapter - Up to 150MB/s, C10, U1, Full HD, A1, MicroSD Card - SDSQUAC-512G-GN6MA [New Version] |
![Check SanDisk 512GB Ultra microSDXC UHS-I Memory Card with Adapter - Up to 150MB/s, C10, U1, Full HD, A1, MicroSD Card - SDSQUAC-512G-GN6MA [New Version] on Amazon](https://srkaj.com/wp-content/plugins/amazon-tables/assets/images/buy.png)
|
| 2 | 1TB Micro SD High Speed Memory Card for Car Navigation,Smartphone,Portable Gaming Devices,Camera and Drone |
|
| 3 | SanDisk 128GB Extreme PRO SDXC UHS-I Memory Card - C10, U3, V30, 4K UHD, SD Card - SDSDXXD-128G-GN4IN |
|
| 4 | Amazon Basics Micro SDXC Memory Card with Full Size Adapter, A2, U3, Read Speed up to 100 MB/s, 256 GB, Black |
|
| 5 | SanDisk Ultra Plus 128GB SDXC UHS-I Memory Card |
|
| 6 | SanDisk 256GB Extreme SDXC UHS-I Memory Card - C10, U3, V30, 4K, UHD, SD Card - SDSDXVV-256G-GNCIN |
|
| 7 | SanDisk 512GB Extreme microSDXC UHS-I Memory Card with Adapter - Up to 190MB/s, C10, U3, V30, 4K, 5K, A2, Micro SD Card - SDSQXAV-512G-GN6MA |
|
| 8 | Amazon Basics Micro SDXC Memory Card with Full Size Adapter, A2, U3, Read Speed up to 100 MB/s, 512 GB, Black |
|
| 9 | Amazon Basics microSDXC Memory Card with Full Size Adapter, A2, U3, Read Speed up to 100 MB/s, 1 Tb, Black |
|
| 10 | Amazon Basics Micro SDXC Memory Card with Full Size Adapter, A2, U3, Read Speed up to 100 MB/s, 128 GB, Black |
|
Simply put, the write-protect switch is a physical mechanism built into the casing of many Secure Digital (SD) cards. It’s a small slider that you can move between two positions: locked and unlocked. Its primary purpose is to control whether data can be written to, modified, or deleted from the memory card. When engaged, it essentially makes your card “read-only.”
How Does This Little Switch Work Its Magic?
It’s an ingenious, yet often misunderstood, piece of engineering. When you slide the switch to the “lock” position (usually downwards), it doesn’t physically block data transfer on the card itself. Instead, it interacts with a tiny sensor or microswitch inside the card reader slot of your device – be it a camera, computer, or printer. This mechanical action signals the host device’s software that the card should be treated as write-protected. Think of it as a polite, firm request to the device: “Please, don’t write anything new or change what’s already here!” Compliant devices will then respect this signal, preventing any accidental modifications.
“Many users don’t realize the write-protect switch isn’t a physical barrier on the card itself, but a crucial communication signal to the device,” explains Srkaj.com’s lead memory expert, Anya Sharma. “It’s a testament to simple, effective design for data integrity.”
Why Is This Switch So Important?
The write-protect switch serves several vital functions:
- Preventing Accidental Deletion: Imagine transferring photos from a cherished vacation. A slip of the finger could accidentally format the card or delete key files. With the switch engaged, such mishaps are averted.
- Protecting Original Data: For photographers, videographers, or anyone archiving important files, the switch ensures that original recordings or backups remain untouched when the card is inserted into various devices.
- Malware Prevention: While not a foolproof security measure, setting the switch to “lock” can add a layer of defense against viruses or malware that might attempt to write to or corrupt your card when inserted into an infected system.
- Read-Only Operations: If you only need to view or copy files without any risk of altering them, the write-protect switch is your best friend.
Using the Switch Effectively
Using the write-protect switch is straightforward.
- To lock your card and protect your data, slide the switch to the downward position.
- To unlock it and allow writing/deletion, slide the switch to the upward position.
Always ensure the switch is in the correct position before inserting the card into your device to avoid “write-protected” errors or unintended data modifications. It’s a simple habit that can save a lot of headaches!
When Your Memory Card Switch is Stuck: Troubleshooting Write Protection Issues
Sometimes, despite your best intentions, a memory card can become stubbornly write-protected, even when the physical switch is in the “unlocked” position. This can be frustrating, but several troubleshooting steps can help.
Simple Fixes: The Physical Switch
First and foremost, double-check the physical switch.
- Slide it up and down a few times: The switch can sometimes be loose or get stuck halfway. Wiggling it gently or toggling it back and forth can help reseat it properly.
- Clean the switch area: Dust or debris can sometimes interfere with the switch’s functionality. A quick, gentle clean might resolve the issue.
- Try a different card reader or adapter: Sometimes, the problem isn’t with the card but with the reader not properly detecting the switch’s position.
Beyond the Switch: Software Solutions
If the physical switch isn’t the culprit, the issue might be software-related, especially on Windows computers. These solutions typically involve telling your operating system to ignore the write-protection status. Advanced users can explore tools like:
- DiskPart Utility (Windows Command Prompt): This powerful command-line tool can be used to clear the read-only attribute of a disk. You’ll typically connect the SD card, open Command Prompt as an administrator, use
diskpart, select the correct disk, and then execute the commandattributes disk clear readonly. - Registry Editor (Windows): In some cases, a specific registry entry can cause persistent write protection. Modifying a
WriteProtectvalue in theStorageDevicePolicieskey of the Windows Registry can resolve this. However, modifying the registry should only be done with extreme caution, as incorrect changes can affect system stability.
Always remember that these software fixes are for situations where the card shouldn’t be write-protected but is. If the card is genuinely damaged or corrupted, these methods might not work.
Expert Tip: Data Recovery Considerations
If your card remains write-protected after trying these steps and you have critical data on it, consider professional data recovery services or specialized software. Forcing a format or attempting more drastic fixes could lead to permanent data loss. Prioritize data safety!
Powering Up Your Gaming: Memory Cards for the Nintendo Switch
The term “memory card switch” also commonly refers to using memory cards with the Nintendo Switch console. This portable powerhouse needs expandable storage, and memory cards are the unsung heroes of your gaming experience.
Why Your Nintendo Switch Needs a Memory Card
The Nintendo Switch comes with limited internal storage (32GB for the original model and Switch Lite, 64GB for the OLED model). Modern games, digital downloads, updates, and even system software can quickly eat into this space. A memory card is essential to:
- Expand Your Game Library: Store dozens, if not hundreds, of digital titles without constantly deleting and redownloading.
- Save Game Data: While some save data is stored internally, many games store additional content on the card.
- Capture More Moments: Save more screenshots and video clips of your epic in-game achievements.
- Faster Loading Times: A good quality, high-speed memory card can sometimes improve game loading times compared to slower internal storage or lower-quality cards.
Choosing the Right Memory Card for Your Switch
Not all memory cards are created equal, especially for a demanding device like the Nintendo Switch. Here’s what to look for:
- Type: The Nintendo Switch uses microSD cards (specifically microSD, microSDHC, or microSDXC). Standard SD cards will not fit.
- Capacity: The Switch supports cards up to a theoretical 2TB, though 1TB is currently the largest widely available. For most users, 128GB, 256GB, or 512GB offer an excellent balance of capacity and value. Consider your gaming habits – mostly digital or physical cartridges?
- Speed: This is crucial for smooth gameplay and quick loading. Look for cards with:
- UHS-I (Ultra High Speed Phase I) rating: The Switch doesn’t support the faster UHS-II or UHS-III, so don’t overspend on these.
- Speed Class U1 or Class 10 at minimum: These offer sequential write speeds of at least 10MB/s.
- For optimal performance, a U3 rating is recommended: These cards offer sequential write speeds of at least 30MB/s, ensuring faster game loading and smoother performance. SanDisk offers licensed microSDXC cards specifically designed and optimized for the Nintendo Switch, often recognized for their reliable performance.
Installation and Management
Installing a memory card in your Switch is simple:
- Power Off: Always power off your Nintendo Switch completely before inserting or removing a microSD card to prevent data corruption or loss.
- Locate the Slot: The microSD card slot is conveniently located under the kickstand on the back of the console.
- Insert: Gently slide the card into the slot until you hear a click. It’s spring-loaded, so it will stay securely in place.
- Power On: Your Switch should automatically recognize the new storage and use it as the default location for new downloads.
- Data Management: You can easily manage data by navigating to System Settings > Data Management to move software between the console’s internal memory and the microSD card.
Memory Card Best Practices: General Advice for Longevity and Performance
Beyond specific uses, a few universal best practices apply to all memory cards to ensure their longevity and optimal performance.
Proper Insertion and Removal
Always handle your memory cards with care. Avoid forcing them into slots. For most devices, it’s best to safely “eject” or power down the device before physically removing the card. This prevents data corruption that can occur if the card is removed while data is actively being written or read.
Formatting
When you first get a new memory card, or if you’re experiencing issues, a quick format can prepare it for optimal use. Ensure you choose the correct file system (e.g., FAT32 or exFAT for larger cards, depending on the device). Remember that formatting erases all data, so back up anything important first!
Regular Backups
This cannot be stressed enough. Memory cards, like all storage devices, can fail. Regularly backing up your critical data to a computer, cloud storage, or another reliable medium is the ultimate safeguard against loss.
Quality Matters
Invest in reputable brands. While cheaper cards might be tempting, they often come with slower speeds, lower reliability, and a higher risk of premature failure. A quality memory card is an investment in your data’s safety and your device’s performance.
Frequently Asked Questions (FAQ)
Q: Can I use a regular SD card with a Nintendo Switch?
A: No, the Nintendo Switch exclusively uses microSD cards. Standard-sized SD cards will not fit into the console’s slot.
Q: What does it mean if my SD card is write-protected?
A: A write-protected SD card means that you can read and view its contents, but you cannot write new data to it, modify existing files, or delete anything. This is often controlled by a physical switch on the side of the card.
Q: Is the write-protect switch a foolproof security measure?
A: While highly effective against accidental changes, the write-protect switch is not a high-security feature. It relies on the host device’s software to respect the signal. A malicious program or a non-compliant device could potentially bypass it, though this is rare with standard devices.
Q: How much storage do I need for my Nintendo Switch?
A: For casual gamers with a mix of physical and digital games, 128GB or 256GB is often sufficient. If you primarily download digital games or plan to have a large library, 512GB or even 1TB would be a better choice.
Q: Can a broken write-protect switch be fixed?
A: A physically broken write-protect switch on an SD card is difficult, if not impossible, to reliably repair. If it’s permanently stuck in the “locked” position, you might try software methods to bypass it or consider the card read-only. If it’s permanently “unlocked” and you need protection, you might need a new card.
Final Thoughts
Whether you’re safeguarding precious memories with a write-protect switch or expanding your gaming universe on a Nintendo Switch, understanding the nuances of memory card functionality is key. At Srkaj.com, we believe that informed users are confident users. By choosing the right card, understanding its features, and adopting best practices, you empower yourself to manage your digital life effectively and securely. Keep exploring, keep creating, and trust your memory cards to keep up!